Nightvision Baby Monitor
Published:Baby monitors are expensive. So let's build one in a day.
- Gather your materials - BOM (Bill of Materials)
- Assemble the hardware
- Setup the software
- Use?
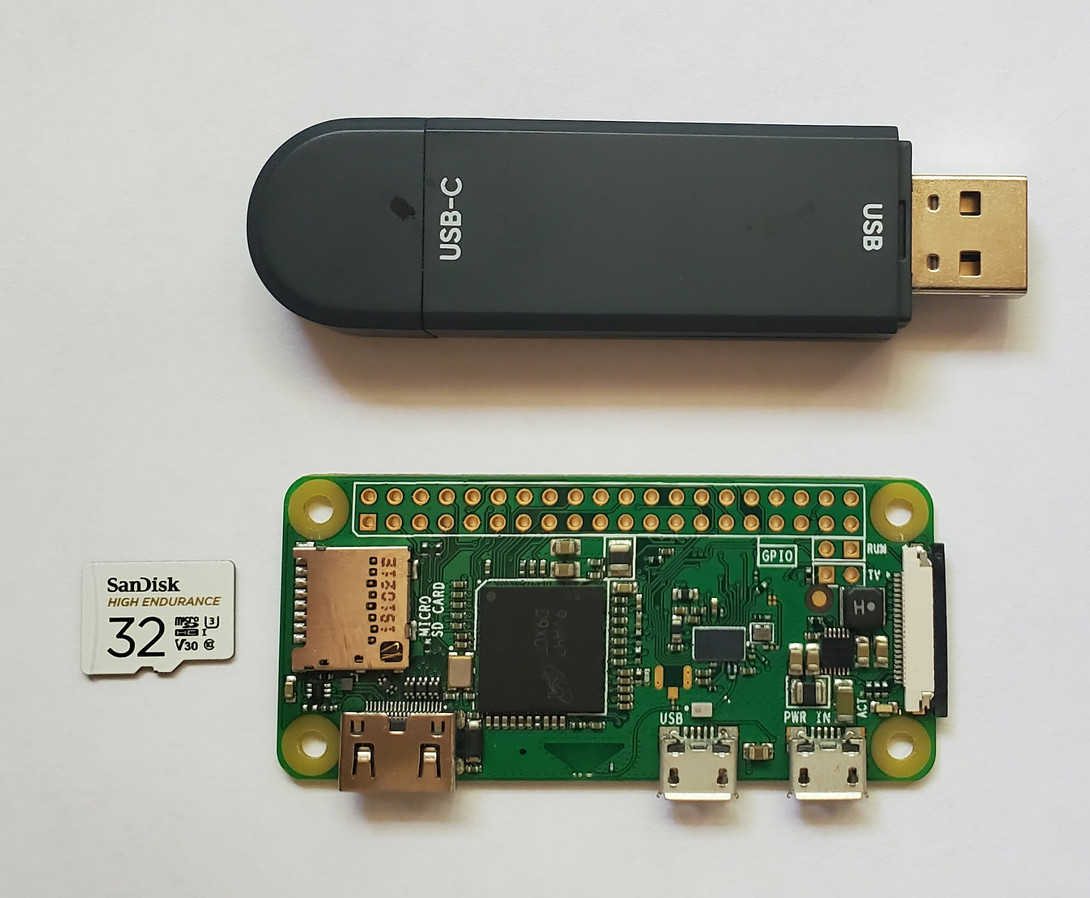
First, you'll need a Raspberry Pi SBC. It really doesn't matter which, but this guide assumes you have an
original Raspberry Pi 0 W (2017, model 1.3). It is quite cheap - $16 on Amazon. Linked in the BOM is an
upgraded version, the Raspberry Pi 2 W which will work better. Note that it runs a 64-bit ARM
processor instead of the original 32-bit that the weaker Pi 0 has, but no worry, legacy OS's designed for
32-bit machines will still work (better actually, due to the better software ecosystem of Raspbian vs
Raspberry Pi OS).
Along with this, you'll need a decent Micro SD card and a USB SD card reader (the one pictured is from
Walmart). I'm running a 32GB SanDisk High
Endurance card that I've heard will last a long time and is decently fast.
Next, you'll need a camera. I bought a IR Camera module with IR LED's that seems to work just fine.
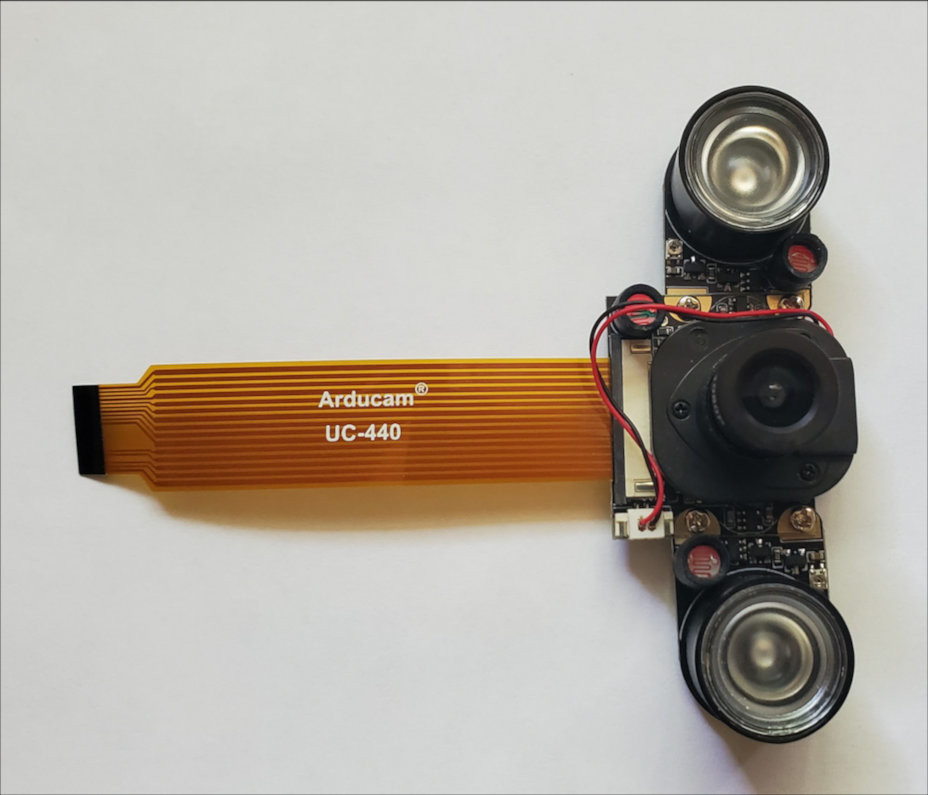
This camera has been working quite well, and the IR LED's are quite fine even in pitch black.
Next, you'll need pretty much any 5v micro USB power supply. I used one that I had laying around, not sure where I got it but it works.
Now for the software.
This part is a little rough. I don't exactly know what I used to get everything working, but here's a link to the tutorial to get you started:
How To Live Stream The Raspberry Pi Camera (2 Easy Ways)I used the second way (Python vs RTSP).
Make sure everything is installed, then create a systemctl service file to run the a bash script at boot.
This script just needs to run the python script, as I didn't want to mess around with python directly from
systemctl. I forget if there were issues, but I think there were and so I just made a bash script to run the
python script.
If you're not sure about systemd services, check out the excelent tutorial on Linode.com: Use systemd to Start a Linux Service at Boot