Upgrading the WiFi Antenna on an Onn 4K Android TV
Published: 2025-03-14About a year back (before I moved into my apartment), I picked up an Onn 4K Android TV from Walmart for $30. Considering even the cheapest phones cost more, I didn't expect much, but was pleasantly surprised by what it could do and didn't notice too many things it couldn't do. It runs a pretty stock and unassuming version of Android TV, and certian models are even able to be rooted, though I haven't traveled down that rabbit hole.
Electronics that use 5v USB power aren't exactly going to be top-of-the-line. This device is likely subsidised with it's many ads and deep integration into the Google ad sphere of influence. I've turned off as much data collection as I could, but that's for another article.
My apartment is laid out like this:
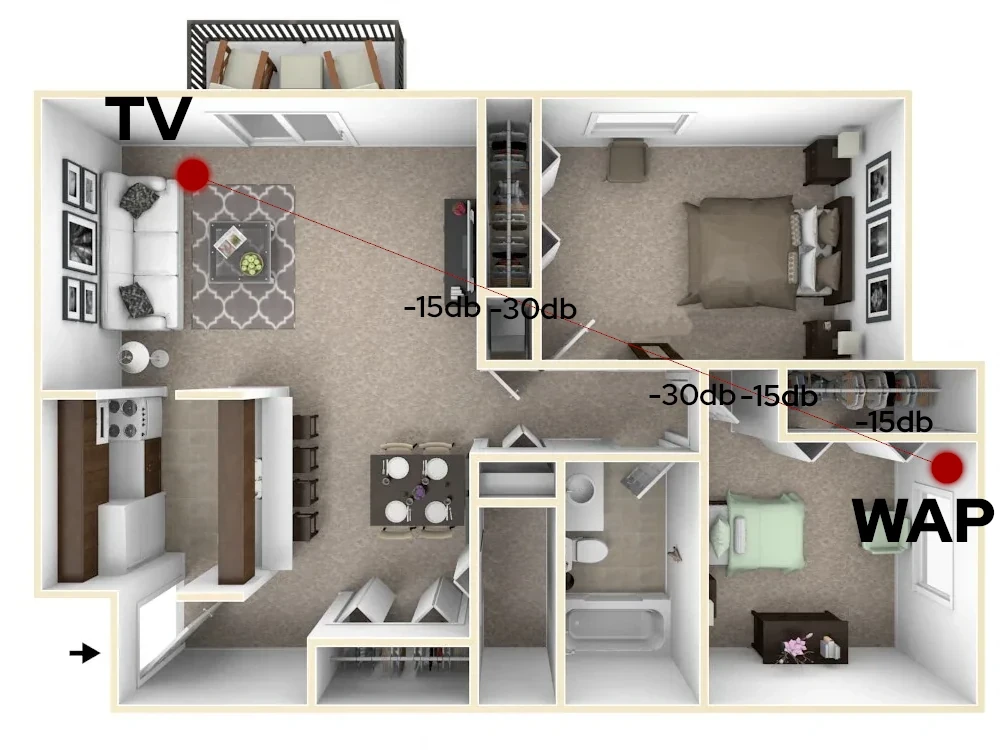
Of course the levels displayed are a rough estimate, considering that the middle wall where the first -30db is likely is a load-bearing wall. The rest are interior walls with the typical wood and drywall. If you're right by the WAP, I get -25db on my phone using the 2.4GHz band.
If math and physics works the way I think they do, the signal strength should be around -130db. This does not factor in any multipath propogation or reflections. Looking into the wireless settings on the TV, we see the RSSI is around -110db. This isn't great, and is on the very edge of usable.
Knowing that, you shouldn't be surprised to hear that streaming in 1080p doesn't do very well. Not 10 minutes go by without compression taking a HUGE toll on image quality, or the connection dropping all together.
That's where an upgraded antenna comes in.
Taking the antennas out of an old-ish Dell laptop (a replacement pair, admittedly, as I had broken the first ones or reused them or something, I can't remember), I had one of those "plans" that you can't really call a plan, more like just a feeling that maybe something could vaguely work in the way that I wanted or expected it to.
Disassasembly
Pretty easy. Take a pocket knife, insert it in the crack on the underside of the unit, pry up, breaking at least one plastic tab, and voila, an opened Android TV.
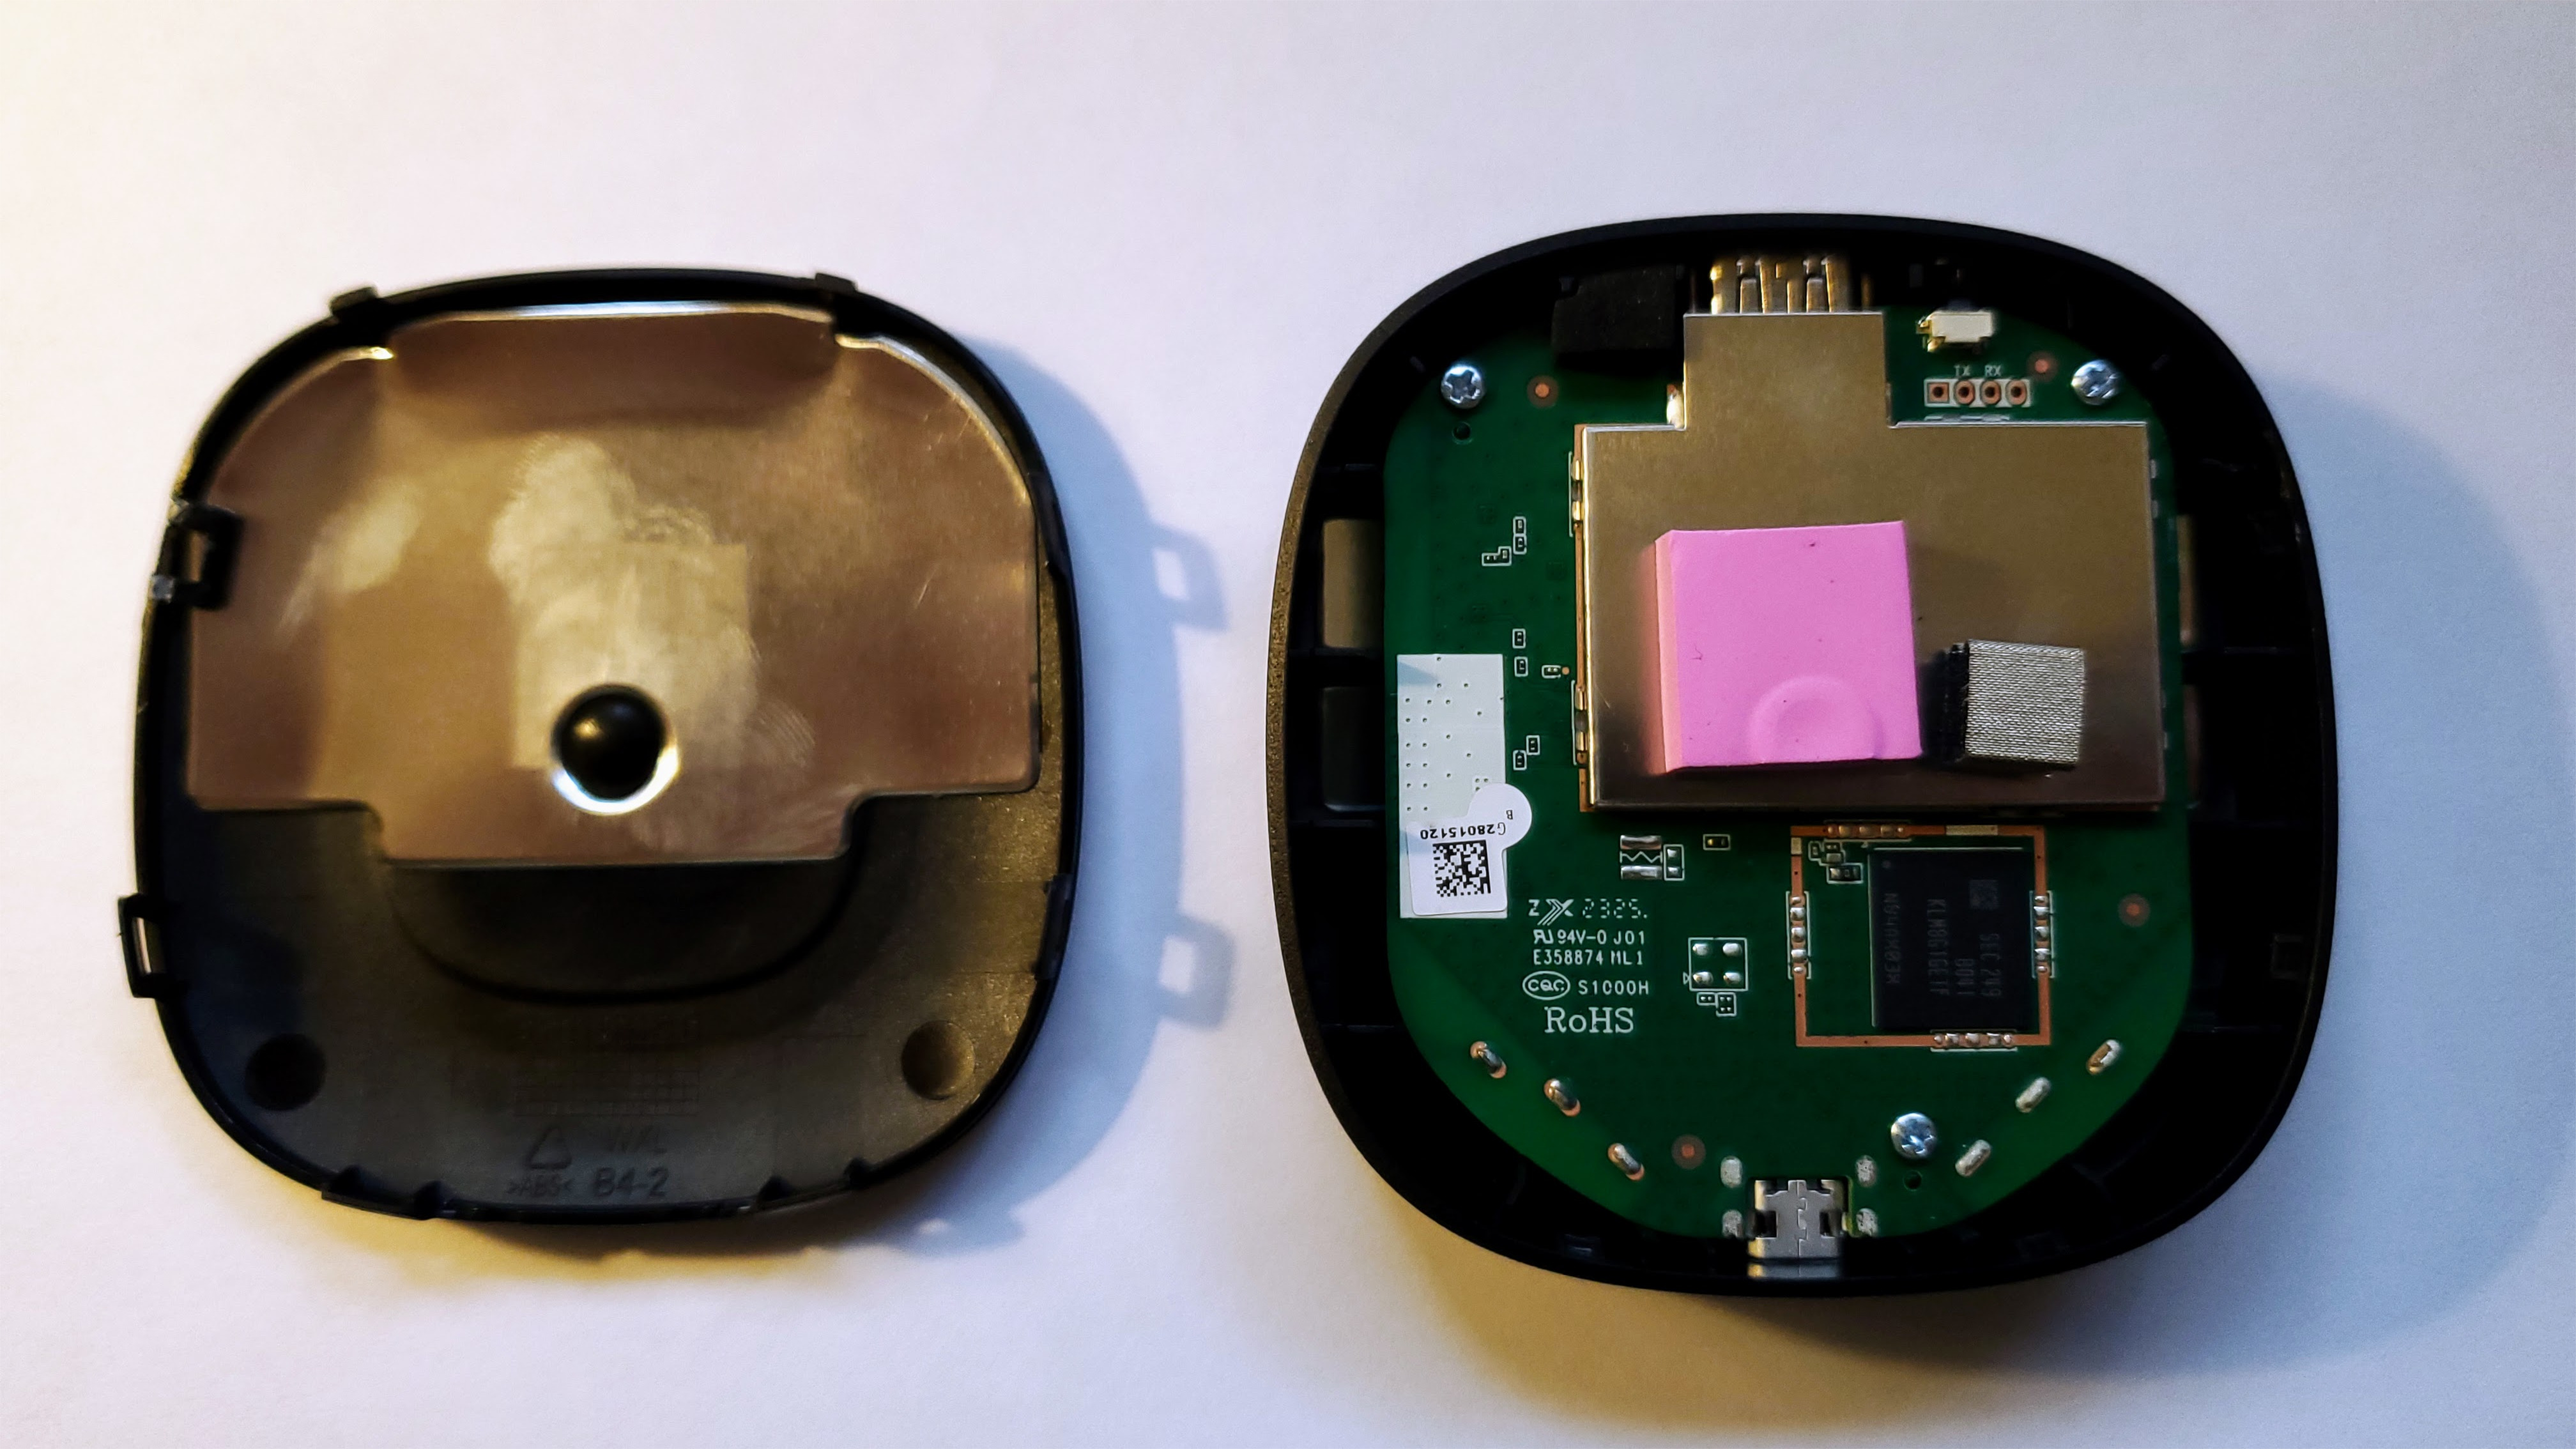
Pretty beefy piece of "thermally conductive" goo there.
There are three small Phillips-head screws, unscrew them and make sure you store them somewhere they
couldn't ever fall into the carpet.
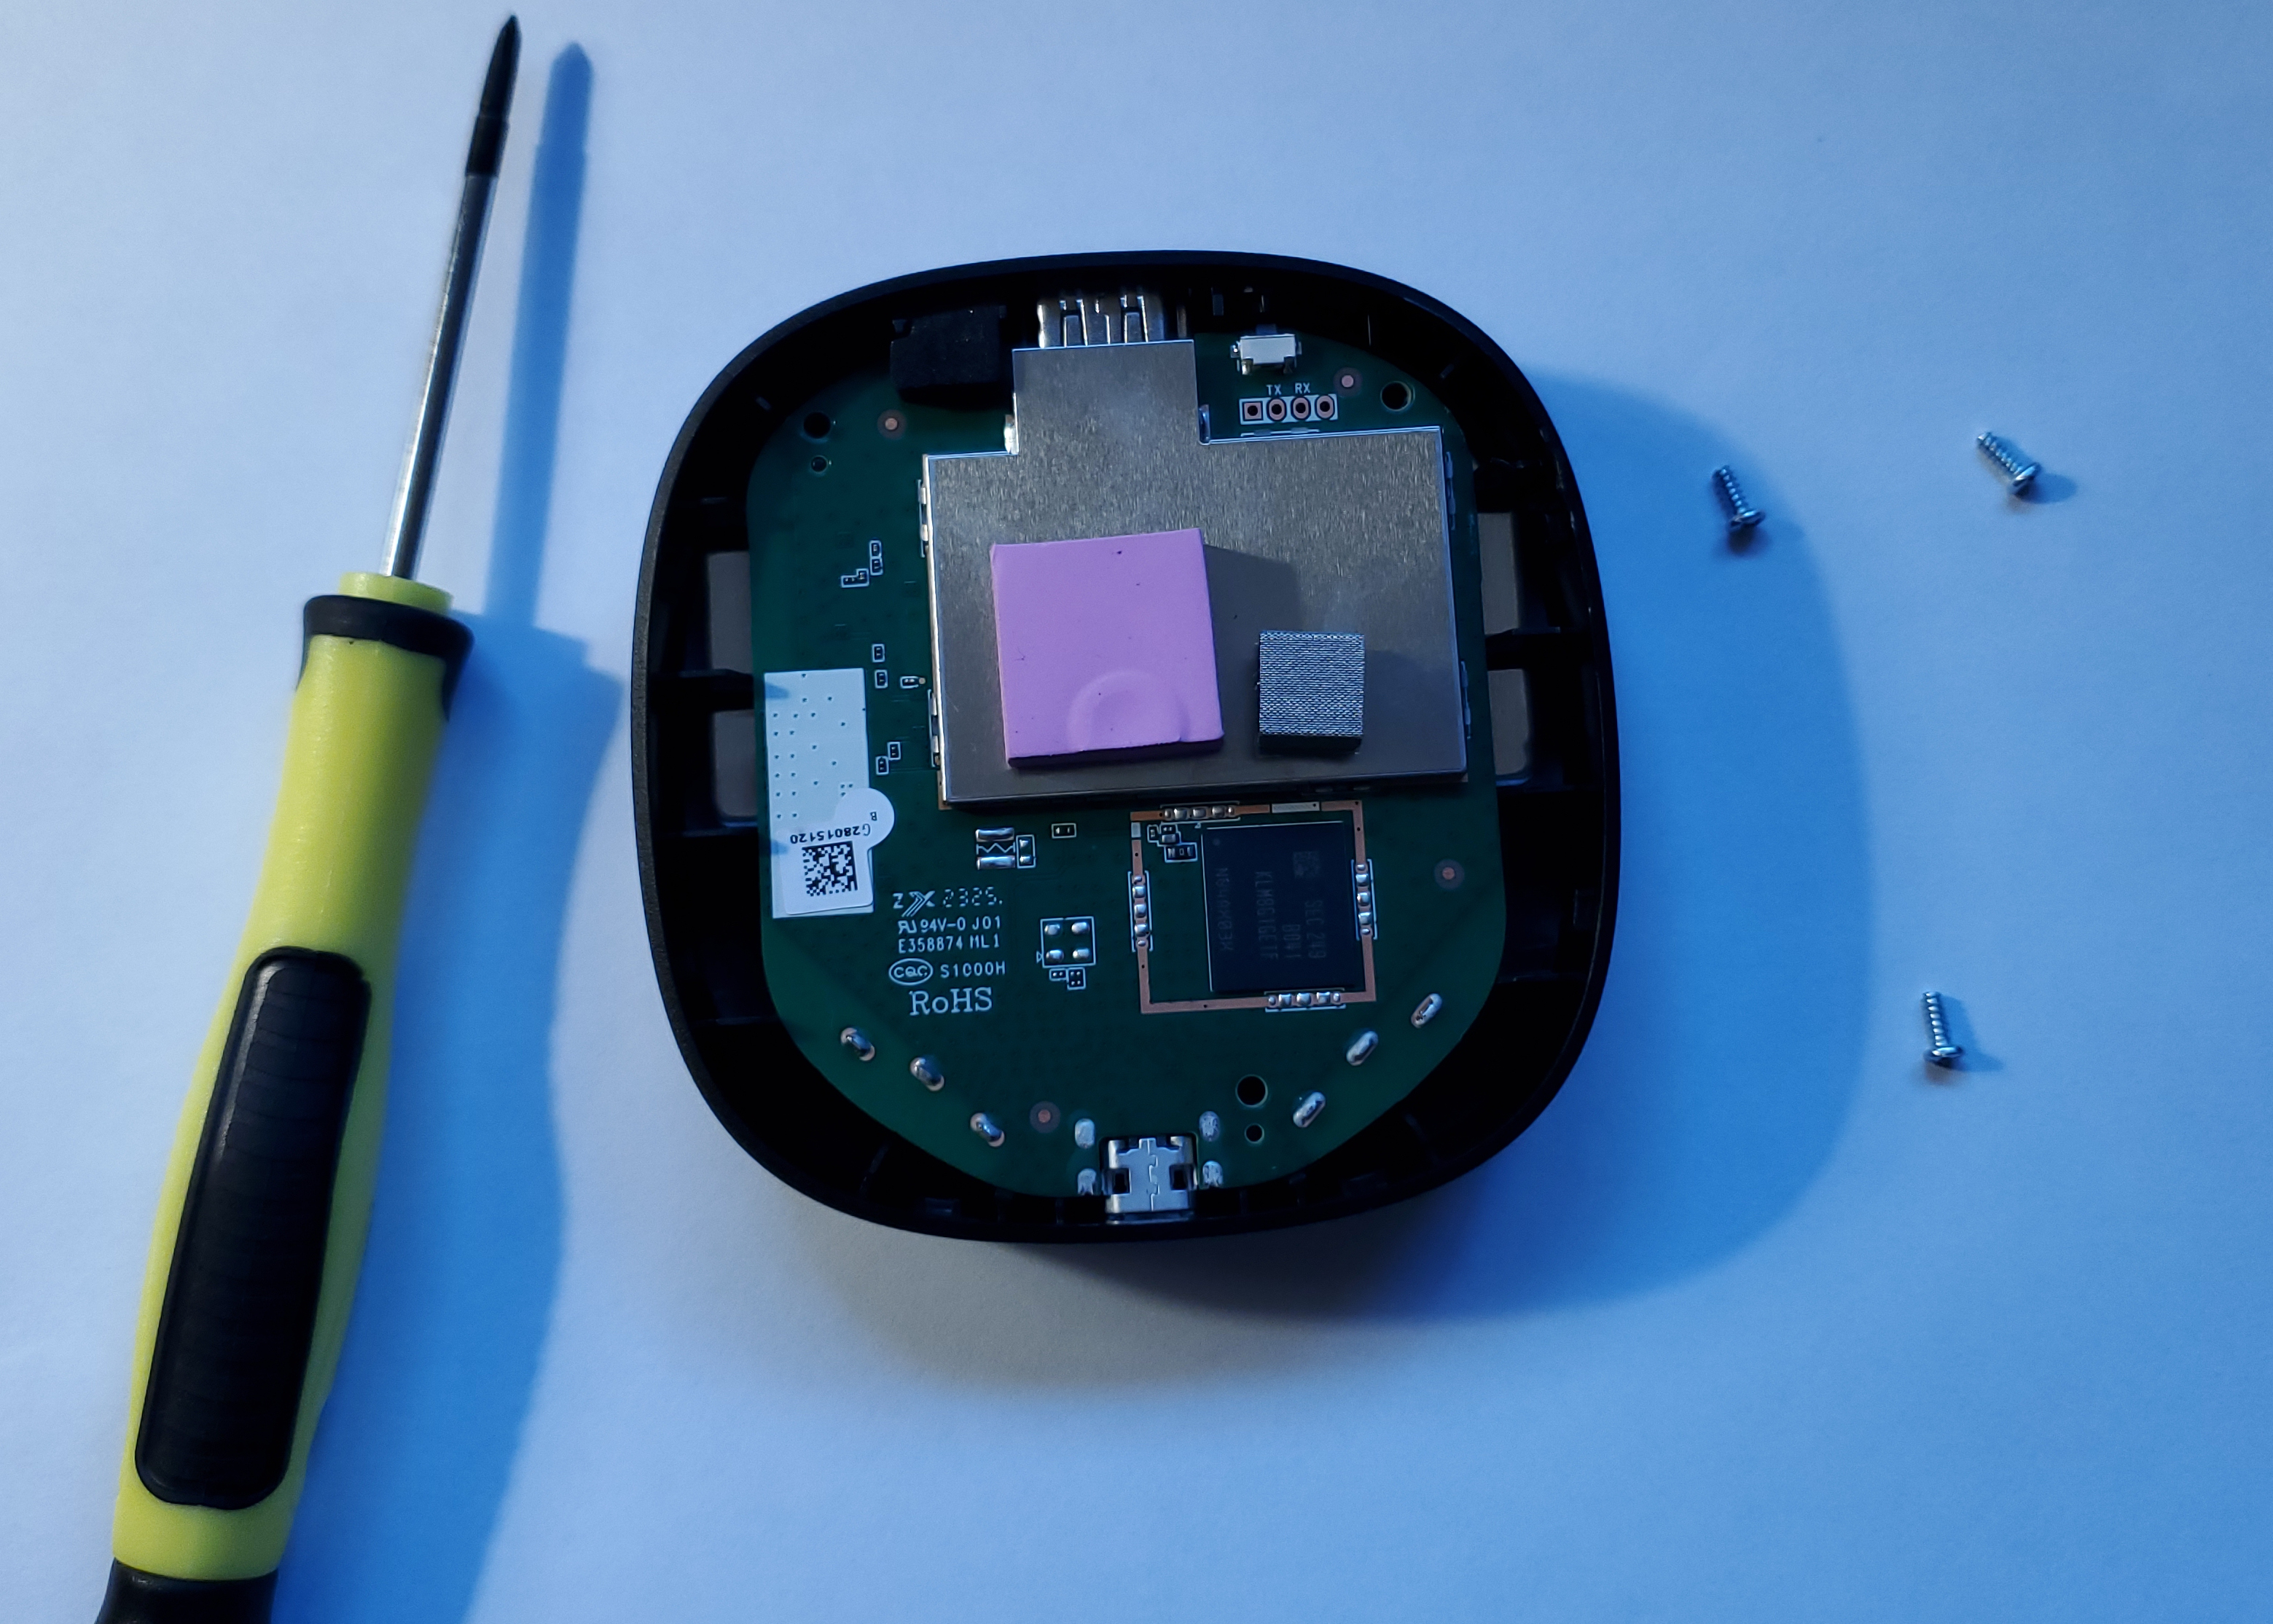
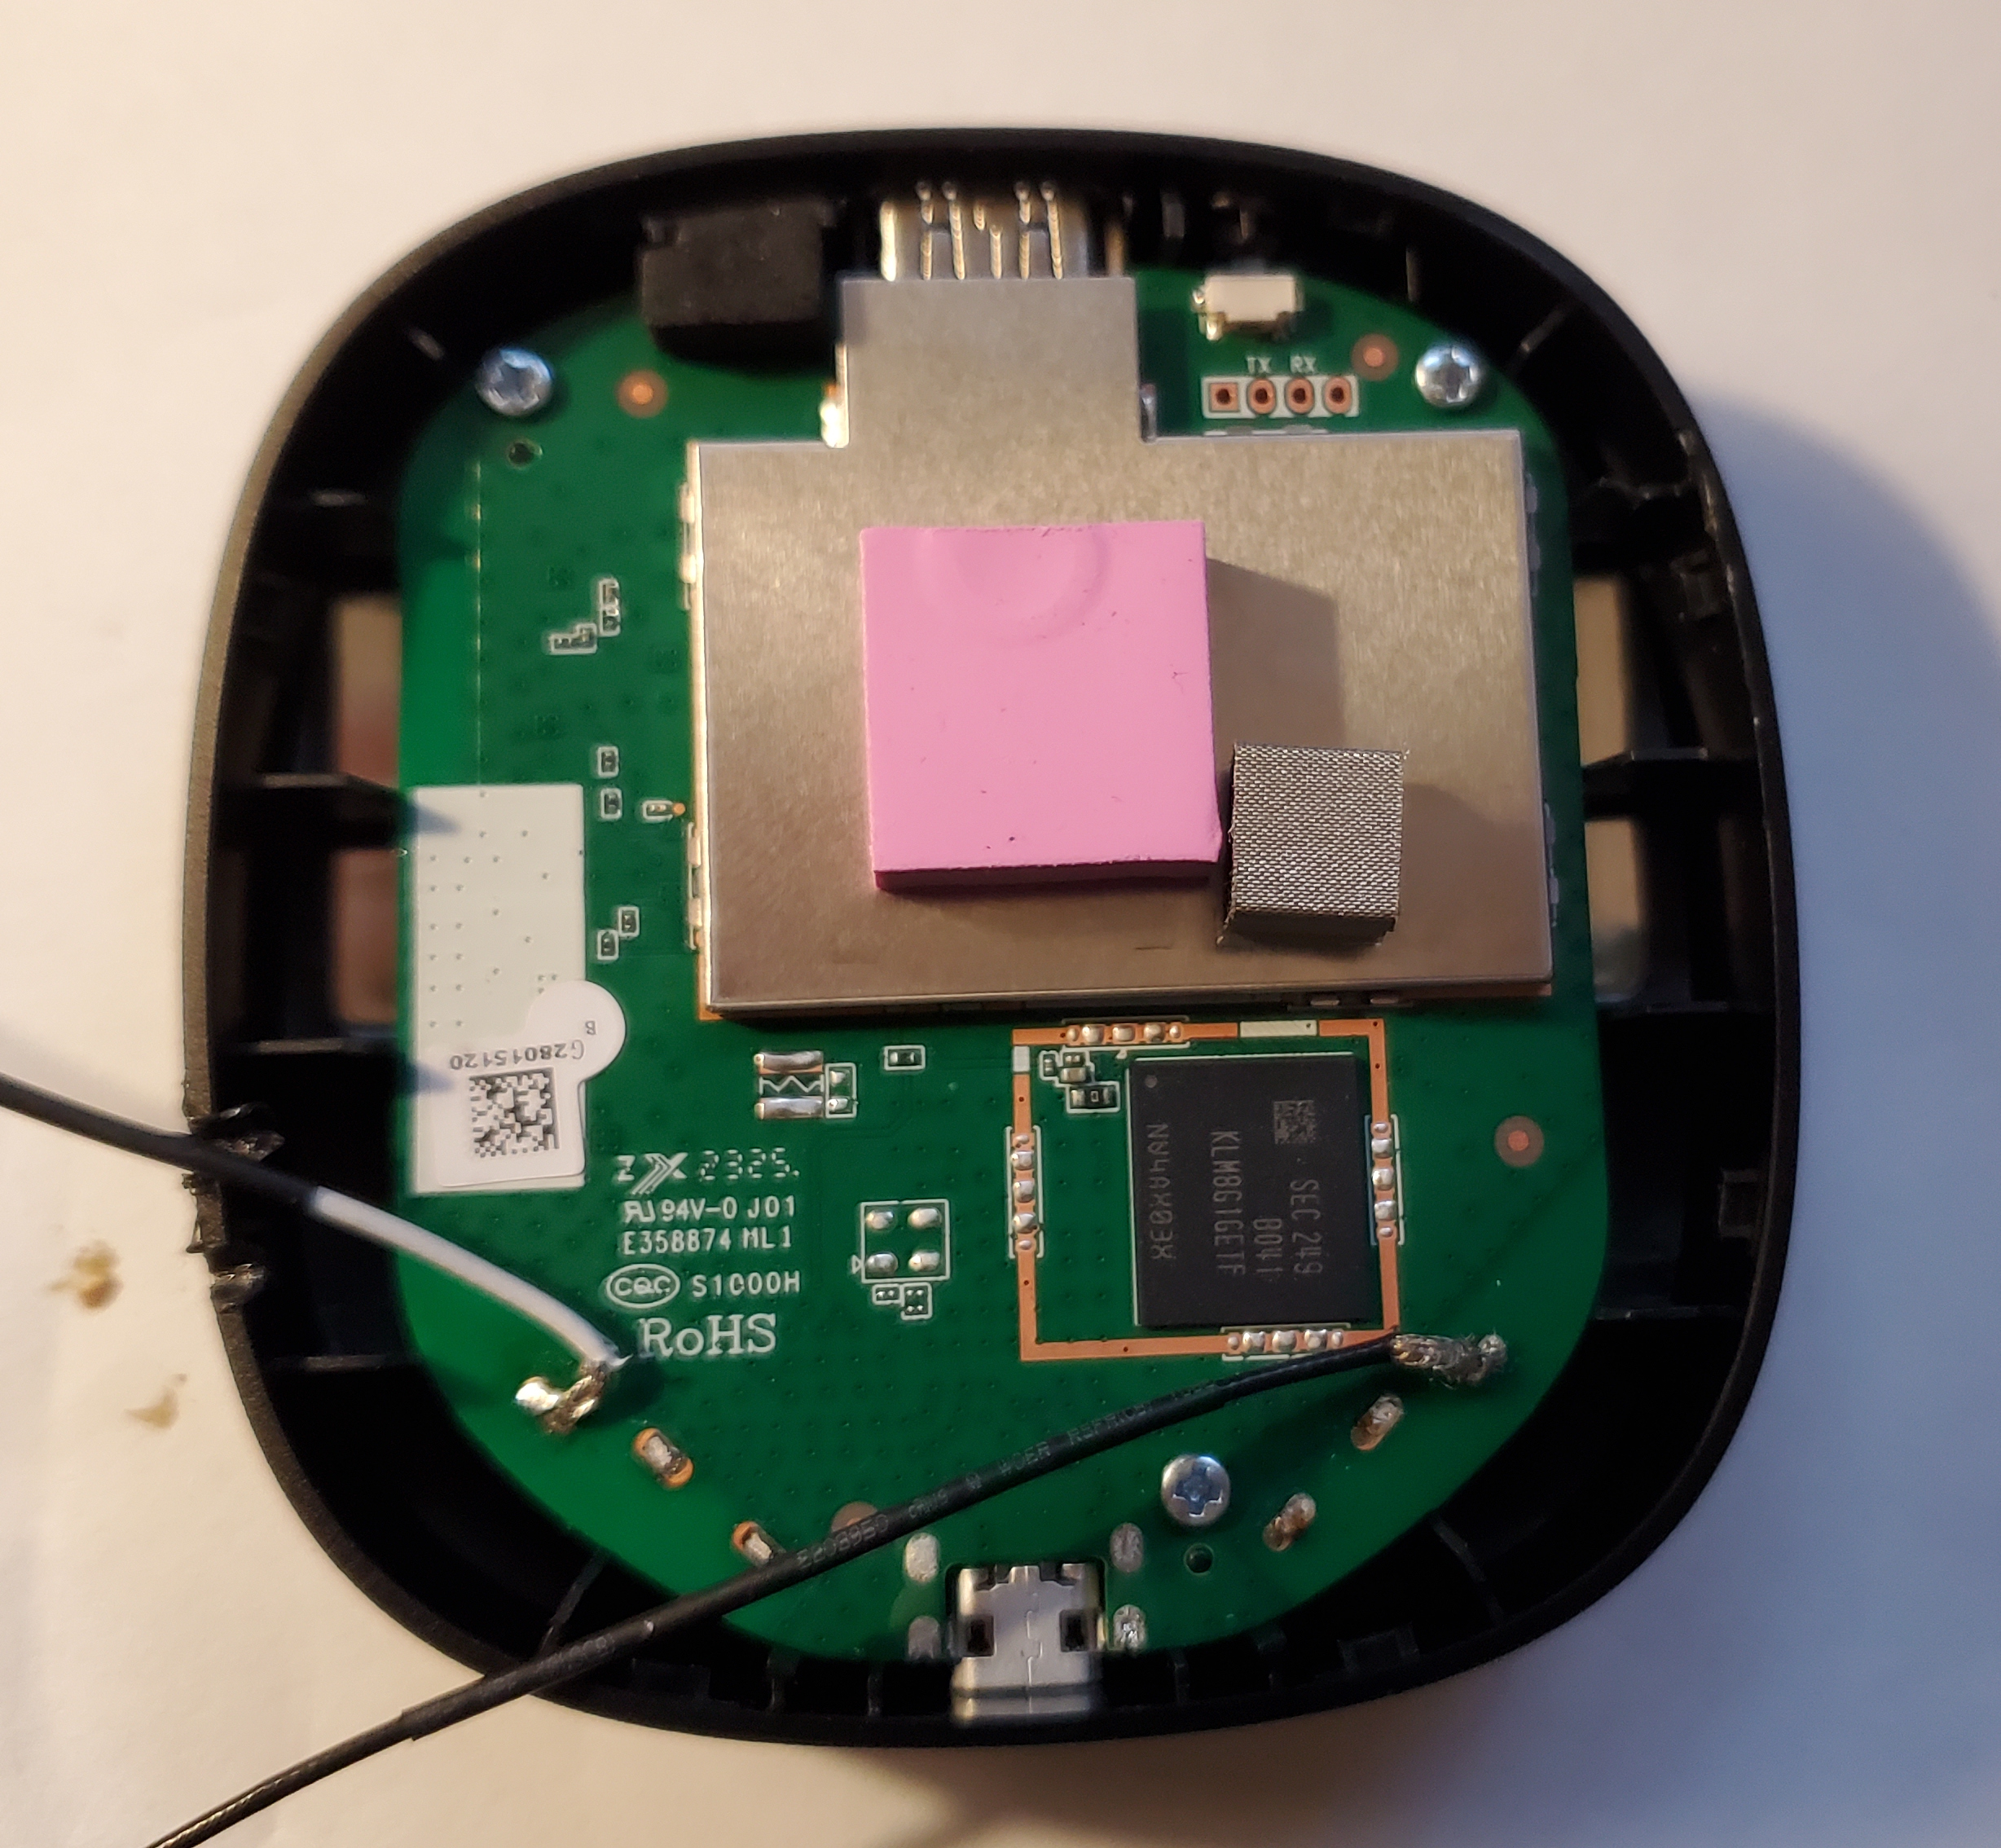
Remove the board from the case from the USB side first.
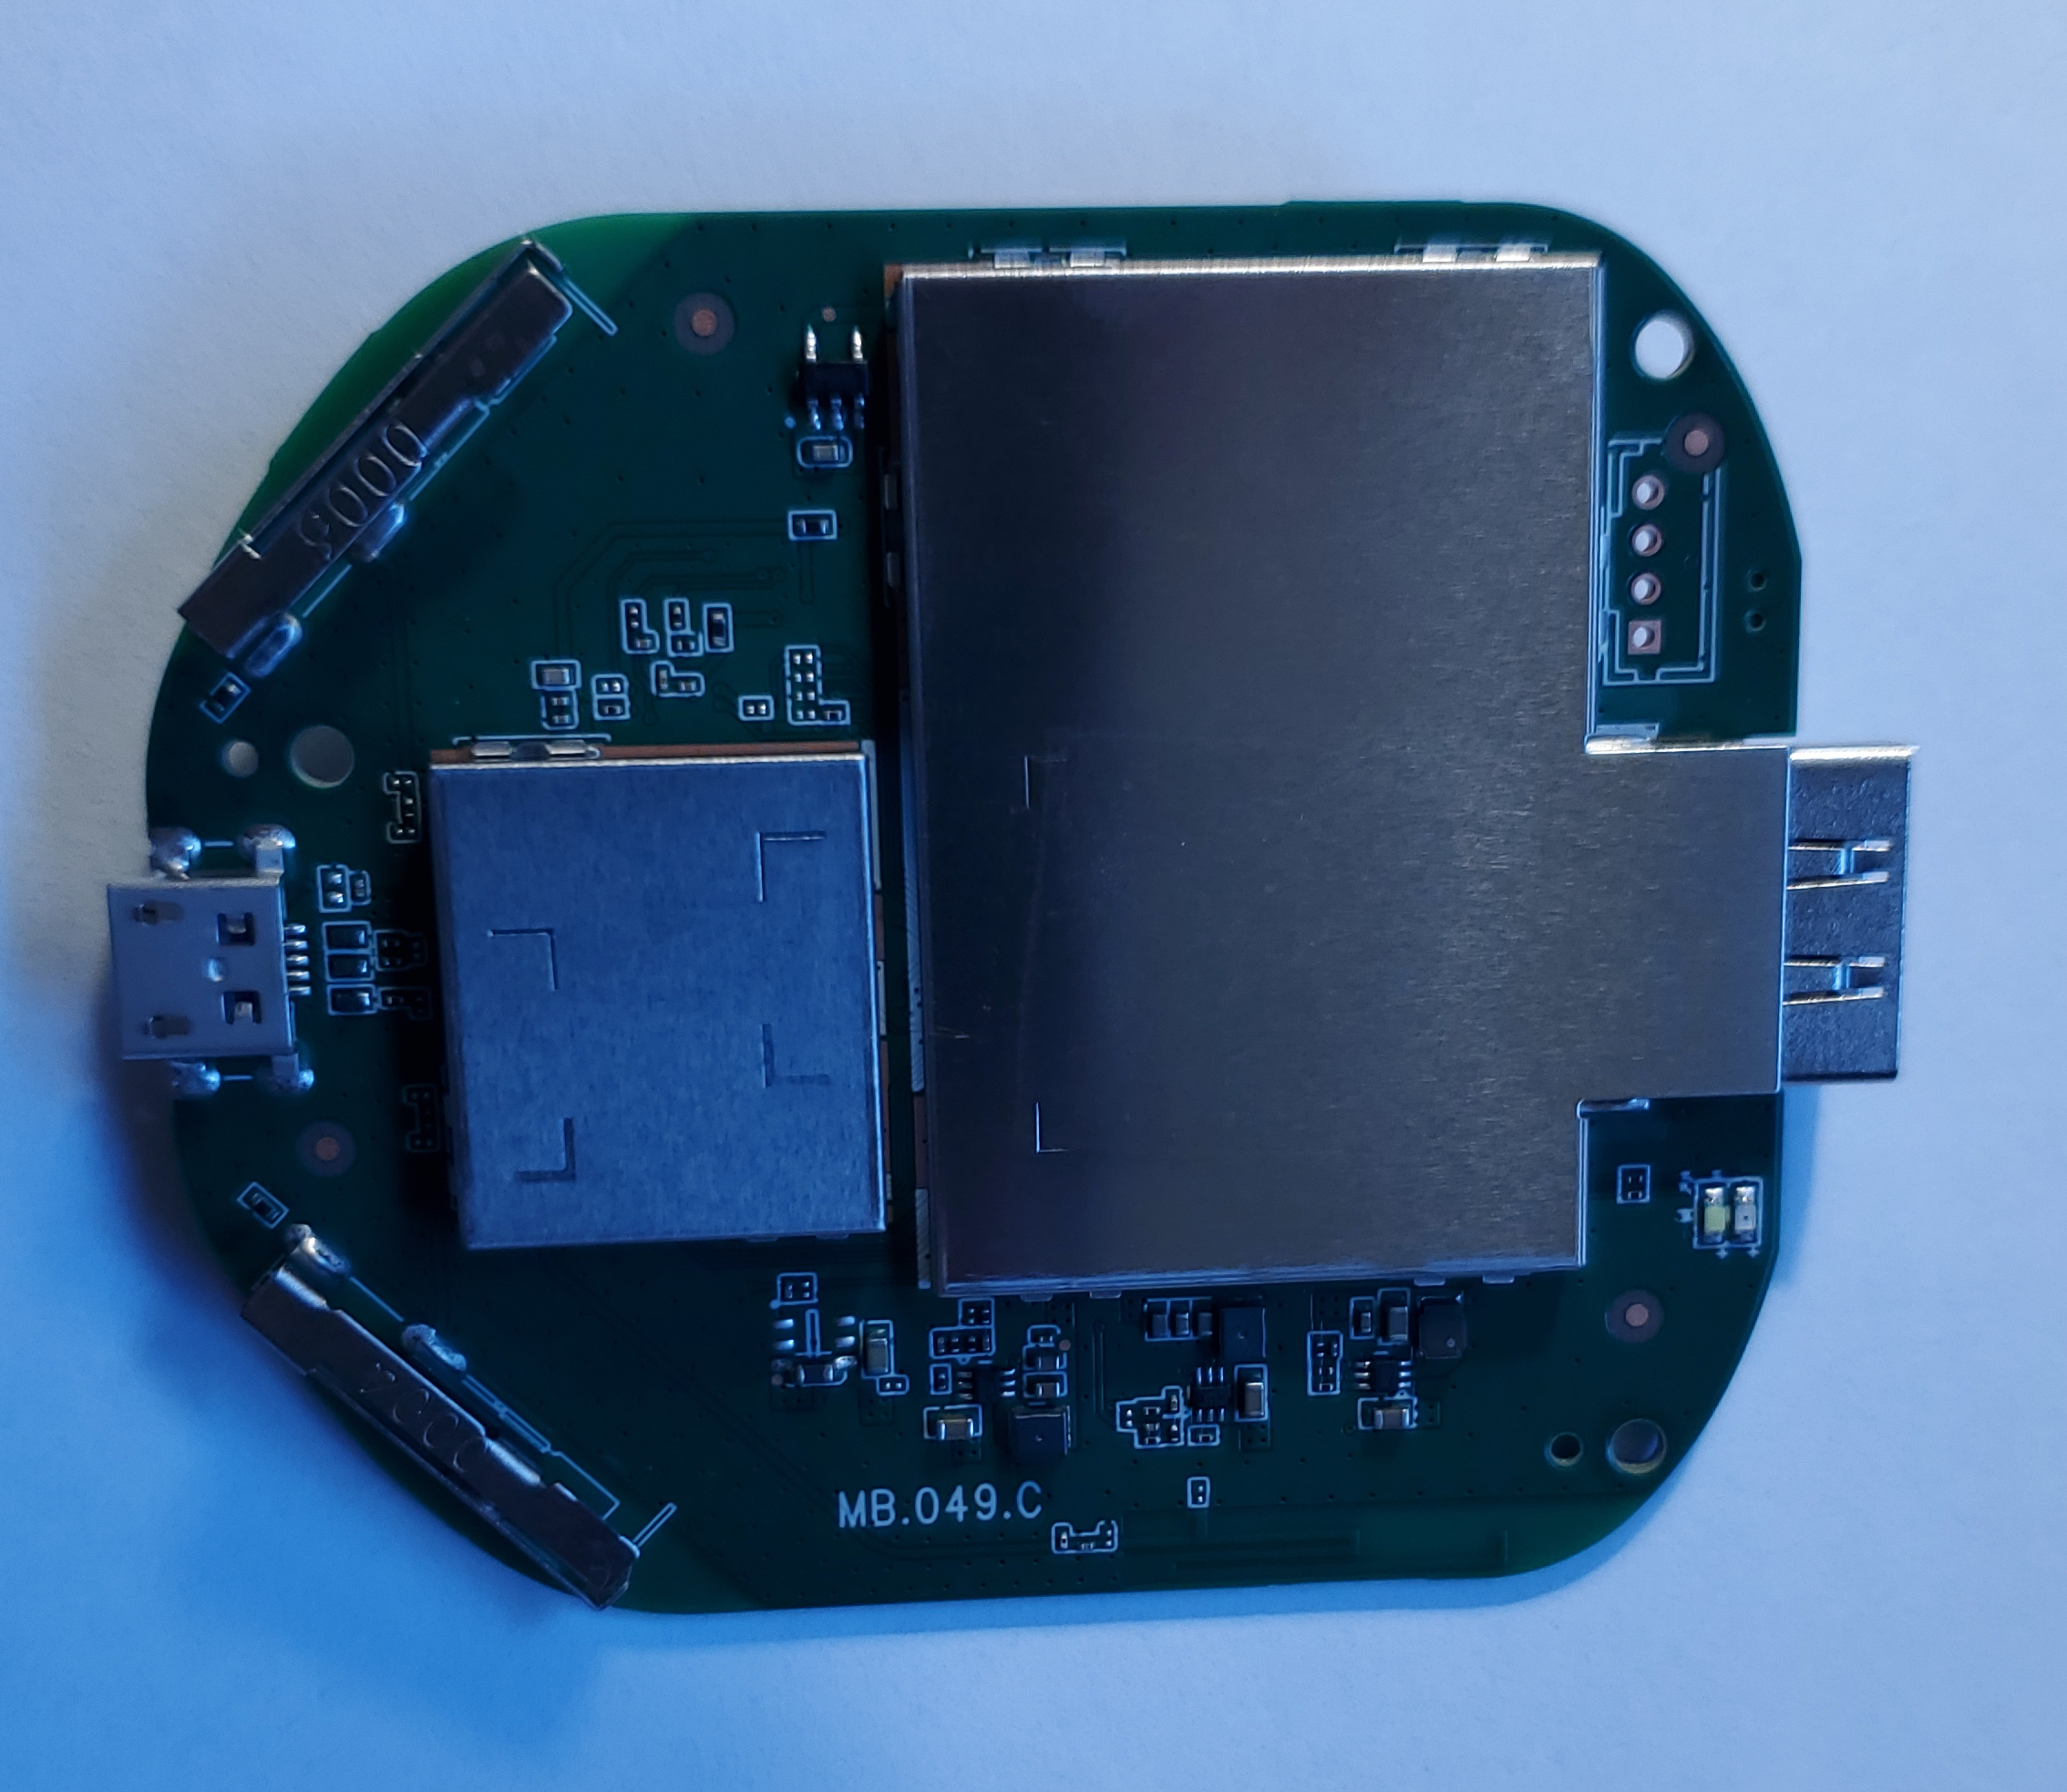
Note the two sad excuses for antennas on the left side of the board. Those are what we're going to replace.
Next, using a soldiering iron (or woodburner, like I do!), desolder the old antennas. There's three points
on the board where they're attached, not sure why that is but I'm sure it'll be really important (hint: it
wasn't).
Reassembly
Using fresh solder (anything but lead acid core should do), solder the pair of antennas to the board. I chose to use the soldering hole as a guide and added all fresh solder to fill and attach it to the board. I'm sure there's a better way, but it probably won't matter.
You can see I've already gotten ahead of myself and melted a couple holes in the case for the antennas to come out. Place the board in the case, making sure to screw it down, and click in the bottom of the case. Make sure the antennas are properly routed.
Results
Turning on the unit, we seem to be connected to WiFi and we're off to a great start. The TV reports an RSSI of -60db! A quick speed test with CloudFlare shows downloads of approximately 10MB/s and upload of just over 2. Not so great are the 27% of packets dropped and upwards of 40ms ping. Signal may have improved but it's still not great.
Note: The math behind all this doesn't make sense.
There's no way the new antennas are that much better, which is indicated by the speed test results. For this to be true, the new antennas would have to have a gain of about +75db, which is impossible for a couple wires hanging out of the TV.That said, a full 40 minutes of watching Youtube and Paramount Plus went as it should - no buffering, full 1080p resolution, and no connection drops. Success!